
The Secret to Perfect Strawberry Red Velvet Cheesecake (Step-by-Step Guide)
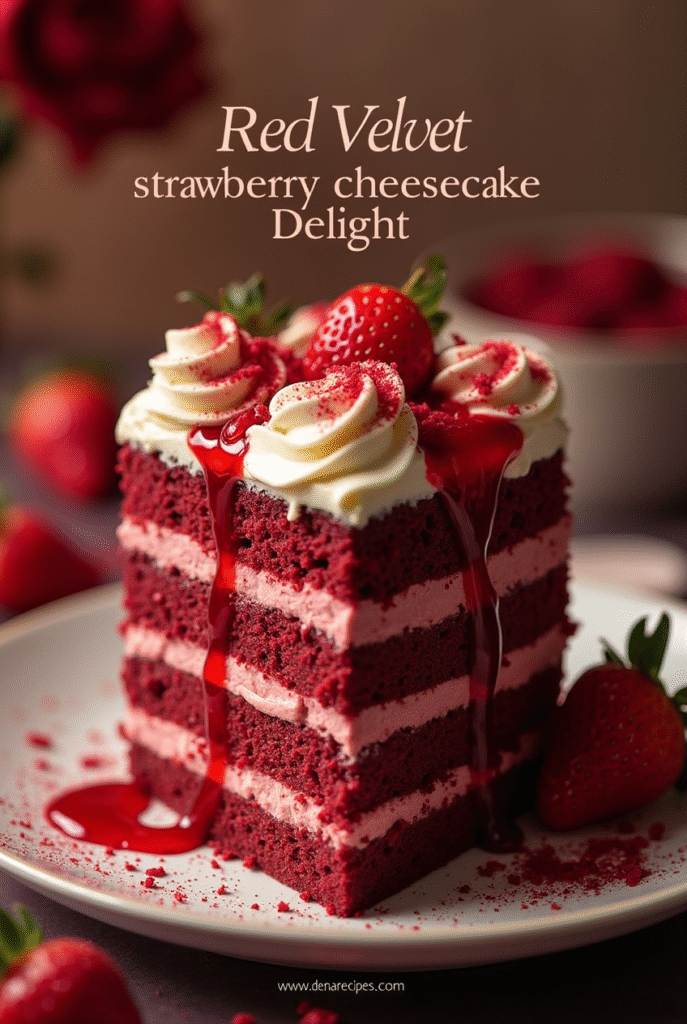
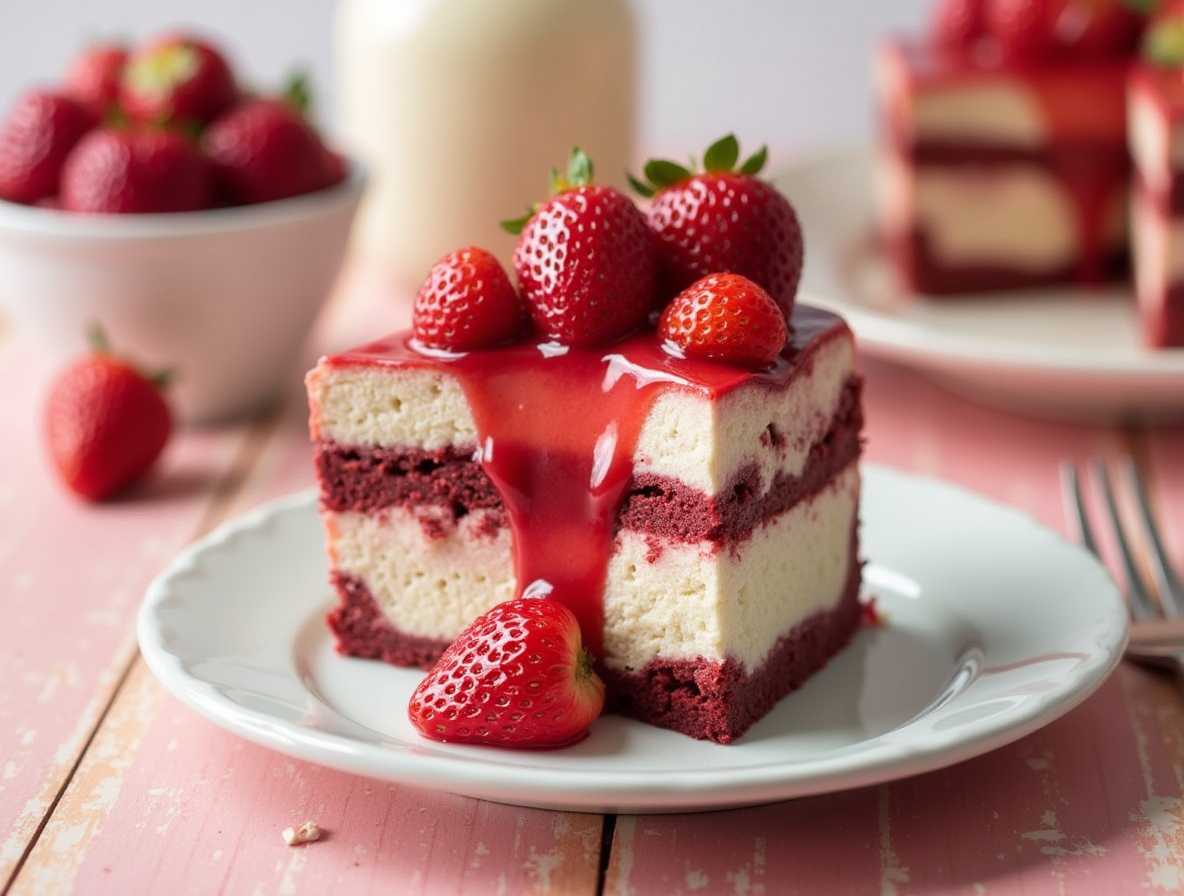
Strawberry red velvet cheesecake combines a striking red crust, creamy white filling, and vibrant pink topping to create a visually stunning dessert perfect for special occasions. Despite its impressive appearance, this showstopper requires no professional baking equipment or hard-to-find ingredients, making it accessible even for novice bakers. Originally served at the Waldorf-Astoria hotel in the 1920s, red velvet cake has a long-standing cultural significance that we’ve elevated by transforming it into a multi-layered dessert experience.
This red velvet with strawberries creation balances rich flavors with refreshing fruit, appealing to a wide range of taste preferences. The red velvet cake layer forms the foundation with classic ingredients like all-purpose flour, granulated sugar, and cocoa powder, while the creamy cheesecake filling adds luxurious texture. Although preparing a strawberry red velvet cheesecake recipe requires patience—taking up to 5 hours including chilling time—you can prepare it in stages to fit your busy schedule. The combination of strawberry and red velvet cake creates a dessert worth the effort.
In this step-by-step guide, I’ll walk you through creating each component of this impressive dessert. From the water bath method that prevents cracks in your cheesecake to the simple strawberry topping that brightens the entire creation, you’ll learn all the techniques needed for success. Therefore, if you’re looking to impress without stress, this detailed tutorial has everything you need.
Choosing the Right Ingredients for Each Layer
The quality of ingredients determines the success of your strawberry red velvet cheesecake. Each component requires specific ingredients that contribute to both flavor and texture. Let’s explore what you’ll need for each delicious layer.
Red velvet crust essentials
The signature red velvet foundation begins with finely ground crumbs. You can use either homemade red velvet cake crumbs or red velvet graham crackers, which should be processed into fine crumbs for the best texture. For binding, melted unsalted butter is essential – typically one stick for every two cups of crumbs.
For those making a red velvet cake base from scratch, you’ll need cocoa powder (1-2 tablespoons), which works with buttermilk and vinegar to create that velvety texture. The iconic red color comes from food coloring – about 1-2 tablespoons of liquid red food coloring or 1 teaspoon of gel coloring. Additionally, a small amount of white vinegar (about 1 teaspoon) is crucial as it reacts with the buttermilk to enhance the red hue and create the signature flavor.
Creamy cheesecake filling must-haves
The star ingredient is full-fat cream cheese – most recipes call for 16-32 ounces (2-4 packages), which must be softened to room temperature to prevent lumps. For sweetness and structure, you’ll need granulated sugar (3/4-1 cup).
Sour cream (1/2-1 cup) adds tanginess and creates that classic cheesecake flavor. Most recipes also incorporate heavy cream (1/3-1/2 cup) for added richness and silky texture. For binding and structure, 2-3 large eggs at room temperature are necessary. Finally, vanilla extract (1-2 teaspoons) and a touch of lemon juice (1-2 teaspoons) brighten the overall flavor.
Fresh strawberry topping ingredients
Fresh strawberries form the base – about 1-2 pounds, rinsed, hulled, and sliced. To sweeten and draw out juices, granulated sugar (1/3 cup) is mixed with the berries.
Lemon juice (about 1 tablespoon) adds brightness and enhances the natural strawberry flavor. For thickening, most recipes use either cornstarch (for a glossy, syrup-like consistency) or gelatin (for a firmer set). Some recipes also incorporate vanilla extract (1 teaspoon) to enhance the strawberry flavor.
When selecting strawberries, opt for bright red berries with no white shoulders for the most intense flavor. Furthermore, in-season strawberries will always create a more flavorful topping.
Step-by-Step: Making the Red Velvet Crust
Creating the perfect foundation for your strawberry red velvet cheesecake starts with a properly prepared crust. This essential first step sets the stage for the entire dessert’s success.
1. Preparing the pan
The right pan selection makes a significant difference in your final result. Choose a springform pan – either 8-inch or 9-inch diameter. Notably, an 8-inch pan creates a thicker, more substantial crust compared to a 9-inch pan.
Initially, preheat your oven to the proper temperature – most recipes recommend between 325°F to 350°F. This temperature range ensures the crust bakes evenly without burning.
Next, prepare your springform pan properly. Spray the pan thoroughly with cooking spray or butter it generously. For extra protection against leaks, wrap the bottom of your springform pan with two pieces of aluminum foil. This step becomes especially important if you’ll be using a water bath later for the cheesecake filling.
2. Mixing and pressing the crust
Depending on your recipe, you’ll either use crushed Oreos, chocolate wafer cookies, or actual red velvet cake crumbs for your base. Combine your chosen crumbs with melted butter until the mixture resembles wet sand. Some recipes also add sugar and a pinch of salt for enhanced flavor.
Transfer your crumb mixture into the prepared springform pan. Press firmly into the bottom, ensuring even distribution. For a more polished presentation, press the crust up the sides about 1 inch. A helpful technique: use the bottom of a measuring cup or a drinking glass to press the crumbs tightly and achieve a more uniform crust.
3. Pre-baking for structure
Pre-baking is vital for creating a sturdy foundation. Place your prepared pan on a baking sheet prior to placing it in the oven. This makes handling easier and catches any potential butter drips.
Bake the crust for 8-12 minutes until set. Some recipes specify 10 minutes as the ideal time. You’ll know it’s ready when the crust feels firm but hasn’t darkened significantly.
Once baked, remove from the oven and allow the crust to cool completely before adding the filling. This cooling period prevents moisture from making your crust soggy and gives the structure time to set properly.
Interestingly, some no-bake variations exist – certain Oreo crusts don’t require baking at all. However, most red velvet crust recipes benefit from the pre-baking step for optimal texture and stability.
Step-by-Step: Creating the Cheesecake Filling
The perfect cheesecake filling requires patience and technique to achieve that smooth, luxurious texture that complements your red velvet base in this strawberry red velvet cheesecake.
1. Softening and mixing cream cheese
Begin with properly softened cream cheese – this is non-negotiable for a lump-free filling. For quick softening, cut the cream cheese into 1-inch cubes and let sit for 15 minutes, or place the wrapped block in warm water for 10 minutes. Alternatively, microwave unwrapped cream cheese for 15-20 seconds on 50-75% power, checking frequently to avoid melting. In a stand mixer with the paddle attachment, beat the cream cheese, sugar, and flour until completely smooth and creamy – about 3 minutes. Scrape down the sides thoroughly to eliminate any lurking lumps.
2. Adding eggs and flavorings
Once the cream cheese mixture is smooth, add heavy cream and vanilla, then incorporate eggs one at a time. Mix each egg for only about 15 seconds before adding the next. Essentially, eggs hold air that can cause cracks, so mix minimally after adding them. For the classic red velvet strawberry cheesecake flavor, blend in a small amount of lemon juice or zest to brighten the overall taste profile.
3. Pouring and baking with a water bath
Pour the silky mixture over your cooled red velvet crust. To create a water bath:
- Wrap the springform pan in two layers of heavy-duty aluminum foil
- Place the wrapped pan in a larger roasting pan
- Pour boiling water into the larger pan until it reaches about halfway up the sides of the springform pan
Bake at 325°F for 60-90 minutes until the edges are set but the center still jiggles slightly when gently shaken.
4. Cooling to prevent cracks
In order to prevent cracks, cooling must happen gradually. After baking, turn off the oven, crack the door open, and let the cheesecake cool in the oven for about one hour. Subsequently, remove from the oven and cool to room temperature before refrigerating for at least 6-8 hours, preferably overnight. This slow cooling process prevents the dramatic temperature changes that cause cracking and ensures your strawberry and red velvet cake creation will have that picture-perfect appearance.
Step-by-Step: Preparing the Strawberry Topping
The crowning glory of your strawberry red velvet cheesecake comes from the vibrant, sweet-tart topping that complements both the rich crust and creamy filling. A properly prepared strawberry topping adds both visual appeal and flavor contrast to your masterpiece.
1. Macerating or cooking strawberries
Two effective methods exist for preparing your strawberry topping. First, the maceration method involves tossing sliced strawberries with granulated sugar and lemon juice, then letting them sit for 30-60 minutes. During this time, the sugar draws out the natural juices, creating a sweet syrup while maintaining the berry’s fresh flavor. This approach works particularly well with perfectly ripe, in-season strawberries.
Alternatively, the cooking method delivers more consistent results year-round. Begin by combining halved or sliced strawberries with sugar and lemon juice in a saucepan. Heat the mixture over medium heat, stirring occasionally until the berries soften and release their juices. This typically takes 5-7 minutes until the mixture begins to simmer. For red velvet strawberry cheesecake, many bakers divide their strawberries, cooking half to create a sauce base while reserving the remainder for added texture.
2. Thickening with cornstarch or gelatin
For a glossy, pourable consistency, cornstarch creates the ideal texture. Mix 1/2 tablespoon cornstarch with 1 tablespoon water to create a slurry. Add this mixture to your simmering strawberries while stirring constantly. Continue cooking for 2-3 minutes until the mixture thickens noticeably and becomes glossy.
Conversely, gelatin produces a firmer set. Combine unflavored gelatin powder (1/4-1/2 teaspoon) with lemon juice, allowing it to dissolve completely before adding to your strawberry mixture. This creates a clear, thick topping that’s perfect for strawberry and red velvet cake combinations.
3. Cooling and layering
Once thickened, remove your topping from heat and allow it to cool completely before applying to your cheesecake. Indeed, the mixture will continue thickening as it cools. For the best presentation, spoon the cooled topping over your chilled cheesecake, creating an even layer that showcases the strawberries. Return the completed strawberry red velvet cheesecake recipe to the refrigerator for at least 30 minutes before serving, allowing the topping to set properly.
Properly stored, your topping will keep in the refrigerator for up to one week or frozen for 3-6 months.
Conclusion
Making a strawberry red velvet cheesecake might seem intimidating at first glance. Nevertheless, this step-by-step guide breaks down the process into manageable parts anyone can master. Each layer contributes something special – the red velvet crust provides a colorful foundation, the creamy cheesecake center delivers rich texture, and the strawberry topping adds brightness and visual appeal.
Time and patience remain your greatest allies throughout this baking journey. Though the entire process takes several hours, the result justifies every minute spent. Most importantly, you can adapt this dessert to different occasions simply by adjusting the presentation. For instance, individual mini-cheesecakes work wonderfully for parties, while a full-sized version creates an unforgettable centerpiece for holiday gatherings.
The combination of flavors – chocolate notes from the red velvet, creamy tanginess from the filling, and sweet-tart freshness from the strawberries – creates a truly balanced dessert experience. This balance explains why this particular cheesecake variation has become so popular among both home bakers and professionals alike.
Remember that your first attempt might not look picture-perfect, and that’s perfectly fine! Each time you make this recipe, you’ll refine your technique. The water bath method specifically takes practice but prevents those dreaded cracks from forming across your beautiful creation.
Hopefully, this guide has demystified the process of creating this showstopper dessert. Your friends and family will undoubtedly be impressed not just by the striking appearance but also by the delicious flavors you’ve carefully layered together. Now all that’s left is to gather your ingredients, set aside some time, and enjoy the rewarding process of creating your own strawberry red velvet cheesecake masterpiece!
FAQs
Q1. Can I incorporate fresh strawberries into my cheesecake? Yes, you can use fresh strawberries in your cheesecake. They can be added to the filling or used as a topping. For the best results, choose ripe, bright red strawberries and prepare them according to your recipe’s instructions.
Q2. Why is red velvet cake so popular? Red velvet cake has gained popularity due to its unique flavor, striking appearance, and cultural significance. Its vibrant red color and velvety texture make it visually appealing, while the combination of subtle chocolate notes and tangy cream cheese frosting creates a distinctive taste that many people enjoy.
Q3. How should I store my strawberry red velvet cheesecake? Strawberry red velvet cheesecake should be refrigerated. Due to its perishable ingredients like cream cheese and eggs, refrigeration is necessary for both taste preservation and food safety. Store it in an airtight container in the refrigerator for the best results.
Q4. What makes the strawberry topping for this cheesecake special? The strawberry topping adds a fresh, sweet-tart flavor that complements the rich cheesecake and red velvet base. It can be prepared by either macerating fresh strawberries or cooking them with sugar and lemon juice. The topping is then thickened with cornstarch or gelatin for a perfect consistency.
Q5. How long does it take to make a strawberry red velvet cheesecake? Creating a strawberry red velvet cheesecake is a time-intensive process that can take up to 5 hours, including preparation and chilling time. However, you can break down the process into stages to fit your schedule. The crust, filling, and topping can be prepared separately, with adequate cooling time between each step.