
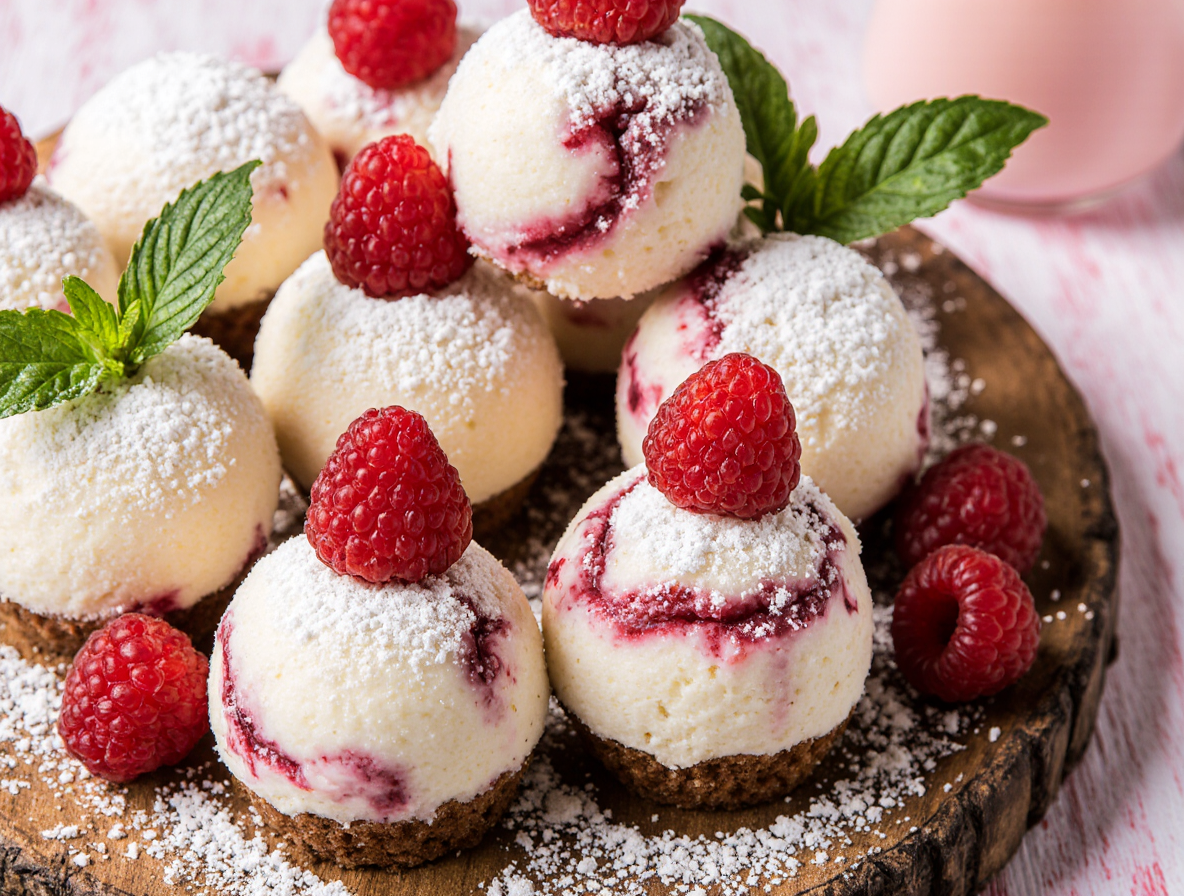
The Perfect White Chocolate Raspberry Cheesecake Balls (No-Bake Recipe)
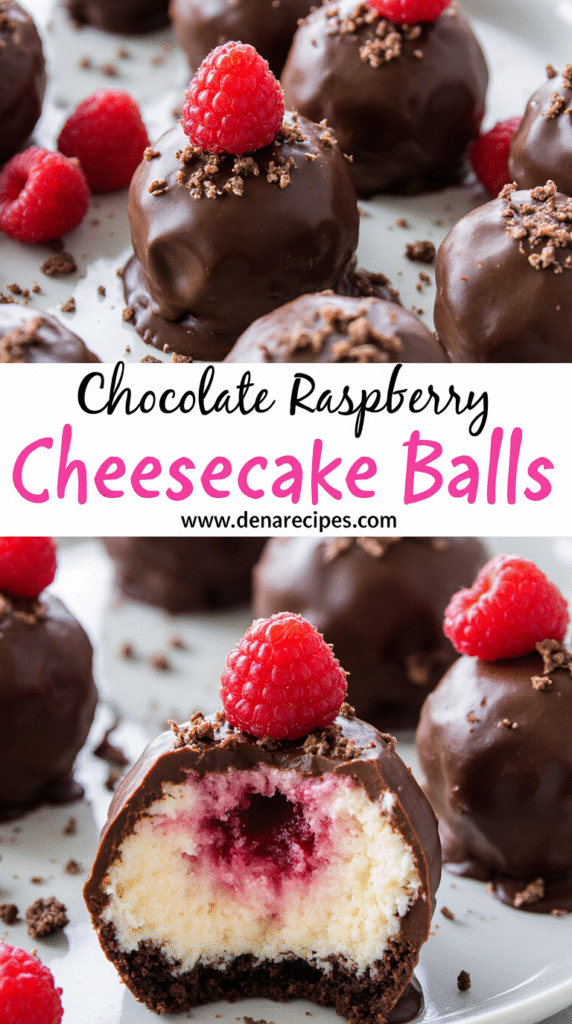
White chocolate raspberry cheesecake balls disappear faster than ice cream on a hot summer day at any gathering. The blend of tangy cream cheese with sweet-tart raspberries creates pure magic when enrobed in creamy white chocolate, making these bite-sized treats irresistible to anyone with a sweet tooth.
If you’re looking for an easy white chocolate raspberry cheesecake balls recipe that requires no baking, you’ve come to the right place. These no-bake delights are worthy of any occasion and are a true crowd-pleaser. Additionally, they’re perfectly sized for parties and gatherings, yet simple enough to prepare for a personal indulgence. In this guide, I’ll walk you through my foolproof method for creating these delectable treats that pack an impressive 293 calories per serving, proving that sometimes the most satisfying desserts come in small packages.
Ingredients and Tools You’ll Need
Gathering your supplies before diving into this recipe will make the process smooth and enjoyable. First of all, let’s go through everything you’ll need to create these delectable white chocolate raspberry cheesecake balls.
For the cheesecake mixture, you’ll need:
- 16 oz full-fat cream cheese (softened at room temperature)
- 1 cup graham cracker crumbs
- 1 cup powdered sugar
- 1 teaspoon vanilla extract
- 1 cup fresh or frozen raspberries (thawed if frozen)
- 2 tablespoons raspberry preserves (for enhanced flavor)
For the coating:
- 16 oz high-quality white chocolate chips or melting wafers
- 1 tablespoon coconut oil (helps thin the chocolate for easier dipping)
- Optional: Pink/red food coloring for decorative drizzle
Essential tools for preparation:
- Large mixing bowl
- Electric hand mixer or stand mixer
- Rubber spatula
- Small cookie scoop (about 1 tablespoon size)
- Baking sheets that fit in your freezer
- Parchment paper
- Microwave-safe bowl for melting chocolate
- Fork or dipping tools for coating the balls
- Cooling rack (for excess chocolate to drip off)
The quality of your ingredients truly matters for these no-bake treats. Opt for full-fat cream cheese rather than reduced-fat versions, as it provides the rich, creamy texture these cheesecake balls are known for. Furthermore, using high-quality white chocolate makes a significant difference in both taste and melting consistency.
If fresh raspberries aren’t available, frozen ones work perfectly well – just ensure they’re completely thawed and drained to prevent excess moisture. You might also consider using freeze-dried raspberries crushed into powder for an intense flavor without added moisture.
Essentially, this recipe is quite forgiving and allows for some customization. You can adjust the sweetness by increasing or decreasing the powdered sugar. Moreover, the raspberry component can be intensified or subdued based on personal preference.
With all these ingredients and tools at hand, you’re fully equipped to create these irresistible white chocolate raspberry cheesecake balls that will impress any dessert lover.
Step-by-Step: How to Make White Chocolate Raspberry Cheesecake Balls
Creating these delectable treats is surprisingly straightforward once you understand the technique. Let’s dive into the process of making your white chocolate raspberry cheesecake balls step by step.
Begin by allowing your cream cheese to sit at room temperature for about an hour—this crucial step ensures a silky-smooth mixture. Next, beat the cream cheese until it looks like silk, making sure to scrape down the sides of your bowl frequently.
Once the cream cheese is perfectly smooth, mix in your powdered sugar and vanilla until they’re fully incorporated. Afterward, gently fold in your crushed raspberries, aiming for pretty swirls rather than turning everything pink.
Place the mixture in the refrigerator for 30-60 minutes until it’s firm enough to handle. While waiting, prepare a baking sheet by lining it with parchment paper.
Once chilled, use a small cookie scoop or tablespoon to portion the mixture into ping-pong-sized balls. Roll them between your palms, but don’t fuss too much about perfect shapes. A handy trick: keep your hands slightly damp to prevent sticking.
Return the shaped balls to the freezer for about 15-30 minutes until they’re quite firm. Meanwhile, prepare your white chocolate by melting it in a double boiler, stirring constantly until it resembles liquid silk. Add a touch of coconut oil for shine. Be patient—rushing leads to grainy chocolate.
For dipping, rest each cheesecake ball on a fork, then submerge it in the melted white chocolate. Allow excess to drip off with a gentle tap. While the coating is still wet, sprinkle with crushed raspberries or other decorations.
Place your dipped balls on a cooling rack with parchment paper beneath to catch drippings. For best results, let them set at room temperature first, then chill—this prevents that cloudy look on the chocolate.
Store your finished white chocolate raspberry cheesecake balls in the refrigerator until you’re ready to serve these bite-sized delights.
Tips for Success and Common Mistakes to Avoid
Even with a straightforward recipe, certain techniques can elevate your white chocolate raspberry cheesecake balls from good to exceptional. Making these no-bake treats requires attention to detail, particularly when handling temperature-sensitive ingredients.
Temperature management remains the cornerstone of success. Always use room temperature cream cheese to achieve that silky-smooth texture without lumps. Cold cream cheese will result in a lumpy filling that’s difficult to correct later. Nonetheless, once mixed, the filling needs proper chilling—at least 15-20 minutes in the refrigerator—before rolling into balls.
Handling sticky mixtures can be frustrating. Consequently, try these practical solutions:
- Lightly grease your hands with cooking spray or neutral oil before rolling
- Chill the mixture between batches if it becomes too soft
- Use cocoa powder to coat your hands (similar to using flour when working with dough)
- Keep a bowl of ice water nearby to cool your hands if they get too warm
Proper chocolate handling prevents disappointment. Despite seeming simple, melting chocolate requires care. Water is chocolate’s enemy—even a tiny droplet can cause seizing. Accordingly, ensure all utensils are completely dry before starting. For white chocolate specifically, never exceed 110°F during melting or it will become thick and muddy.
Should your chocolate overheat, don’t panic. Simply add some unmelted chocolate pieces while stirring constantly to lower the temperature. Alternatively, incorporate a teaspoon of vegetable oil or shortening to restore smoothness.
Raspberry moisture control deserves special attention. Pat diced raspberries between paper towels to remove excess moisture before adding them to your mixture.
Indeed, storing these treats properly extends their enjoyment. Keep finished white chocolate raspberry cheesecake balls in an airtight container in the refrigerator for up to a week or freeze for up to two months. Remember to let them sit at room temperature for about 30 minutes before serving for the best flavor experience.
Conclusion
These white chocolate raspberry cheesecake balls truly represent the perfect balance of creamy, tangy, and sweet flavors in every bite-sized morsel. The combination of rich cream cheese with fresh raspberries creates a refreshing treat that looks as impressive as it tastes. Best of all, you never have to turn on your oven!
Most people appreciate how versatile these treats can be. They work beautifully for formal gatherings, casual get-togethers, or simply as a special treat to keep in your refrigerator when sweet cravings strike. Additionally, their make-ahead nature makes them perfect for busy hosts who want to prepare desserts days before an event.
Temperature control certainly makes the difference between frustration and success with this recipe. Therefore, pay close attention to chilling times and chocolate melting temperatures. Your patience will be rewarded with perfectly formed, glossy treats that maintain their shape when served.
Last but not least, feel free to experiment with this recipe once you’ve mastered the basic technique. Different berry varieties, chocolate types, or even decorative toppings can transform these cheesecake balls into your signature dessert. The fundamental principles remain the same, though the possibilities for personalization are endless.
Whether you’re a seasoned baker or someone looking for an impressive no-bake dessert, these white chocolate raspberry cheesecake balls deserve a place in your recipe collection. Your friends and family will undoubtedly request them again and again!
FAQs
Q1. How long can I store white chocolate raspberry cheesecake balls? These treats can be stored in an airtight container in the refrigerator for up to a week. For longer storage, you can freeze them for up to two months. Remember to let them sit at room temperature for about 30 minutes before serving for the best flavor experience.
Q2. Can I use frozen raspberries instead of fresh ones? Yes, you can use frozen raspberries. Just make sure they’re completely thawed and drained to prevent excess moisture in the mixture. Alternatively, you can use freeze-dried raspberries crushed into powder for an intense flavor without added moisture.
Q3. Why is my chocolate becoming thick and muddy when melting? This usually happens when white chocolate is overheated. Never exceed 110°F during melting. If it does overheat, try adding some unmelted chocolate pieces while stirring constantly to lower the temperature, or incorporate a teaspoon of vegetable oil or shortening to restore smoothness.
Q4. How can I prevent the mixture from sticking to my hands when rolling the balls? To prevent sticking, try lightly greasing your hands with cooking spray or neutral oil before rolling. You can also chill the mixture between batches if it becomes too soft, or use cocoa powder to coat your hands. Keeping a bowl of ice water nearby to cool your hands can also help.
Q5. Can I customize these cheesecake balls with different flavors? Absolutely! Once you’ve mastered the basic technique, you can experiment with different berry varieties, chocolate types, or even decorative toppings. The fundamental principles remain the same, but the possibilities for personalization are endless.